Setting up the Project map
Last updated 29 days ago
The Project map is composed by Sites.
In this section you will learn the quickest way of creating and adding Sites to your map.
Setting the approximate center of the Project
Note: Setting the center of the Project is not mandatory, but it will help you to quicker locate the Project area in the next steps.
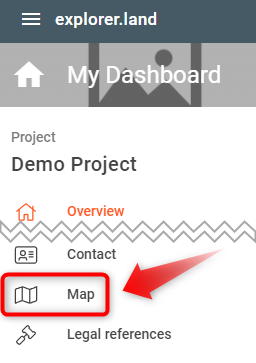
In order to start creating the first Sites, you might want to indicate where the Project area is approximately located. For that select Map in your Project menu to open the respective map settings page.
In the map setting page, under “Project center mode”, click on the Manual option. The “Go to Geography page” field will appear. Click the SAVE SETTINGS button and then the Go to Geography page button. If you leave the Automatic option, the project center will automatically be located in the mathematial center of the country or countries you chose, or in the mathematial center of all the sites you have created, from which the the second option has priority.

Once in the Geography page, you’ll notice that the mouse cursor turns into a crosshair with coordinates when hovering over the map. Zoom in and move the map until you locate the Project area. Note that you can also use the Place Search located on the top right of the map (magnifying glass icon) to find your location.

Click on the map to apply the project center. You’ll now see the coordinates of the old project center and the coordinates of the new project center underneath. Save by clicking on the SAVE button.

Creating the first Site
Sites will also define the project location and area shown on the map.
To learn how to create a site click here.