Create a Project
Last updated Over 1 year ago
Create a Project
There are 3 ways to start the creation of a Project on explorer.land
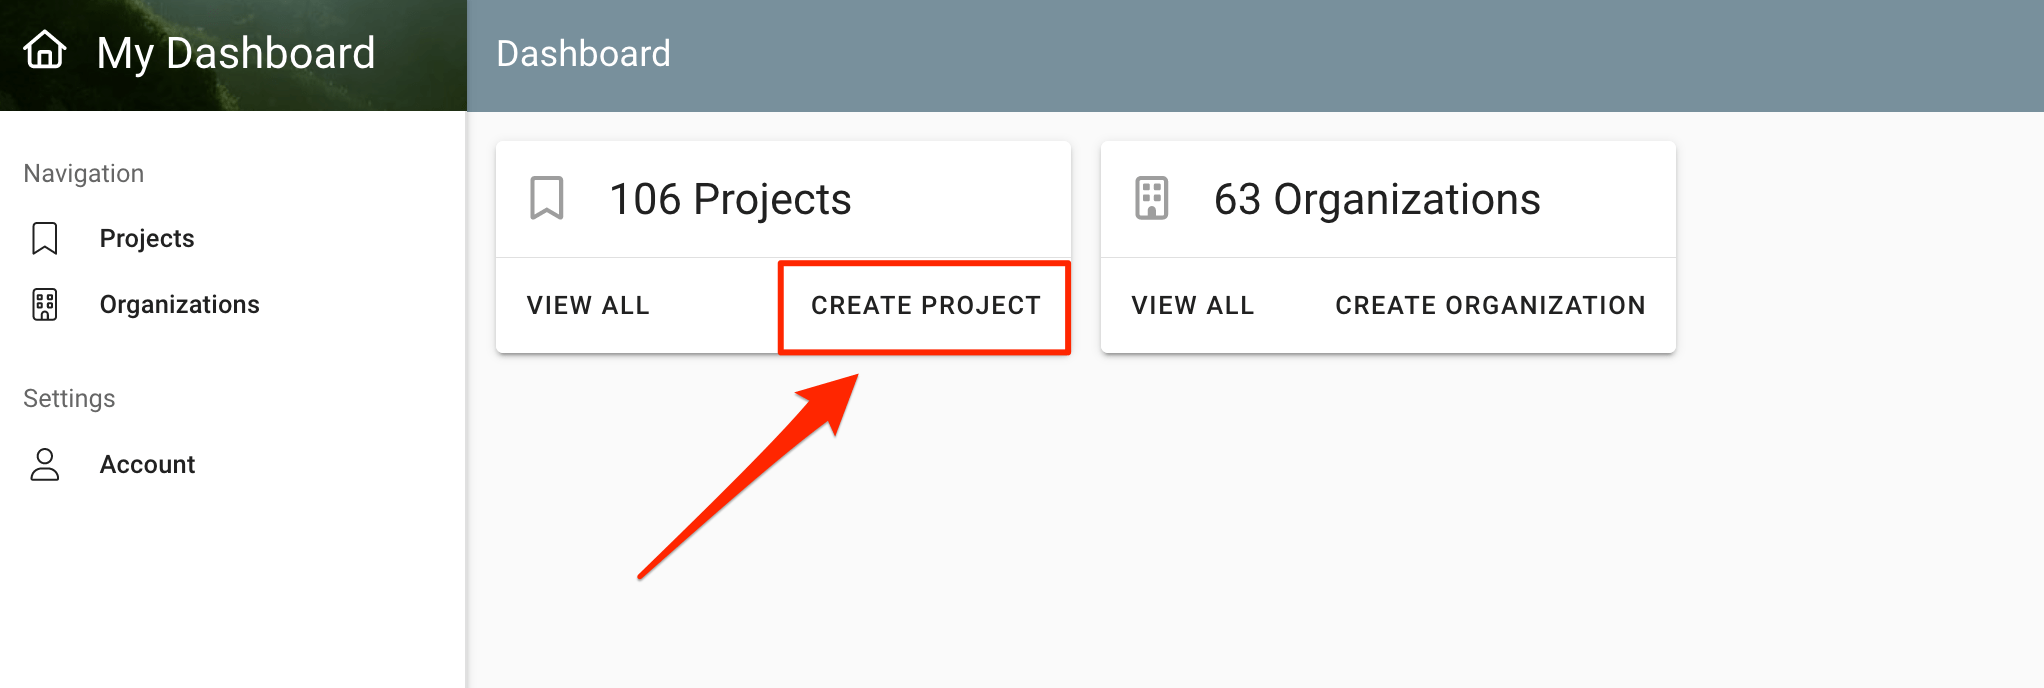
Click on "CREATE PROJECT" directly on your Dashboard.
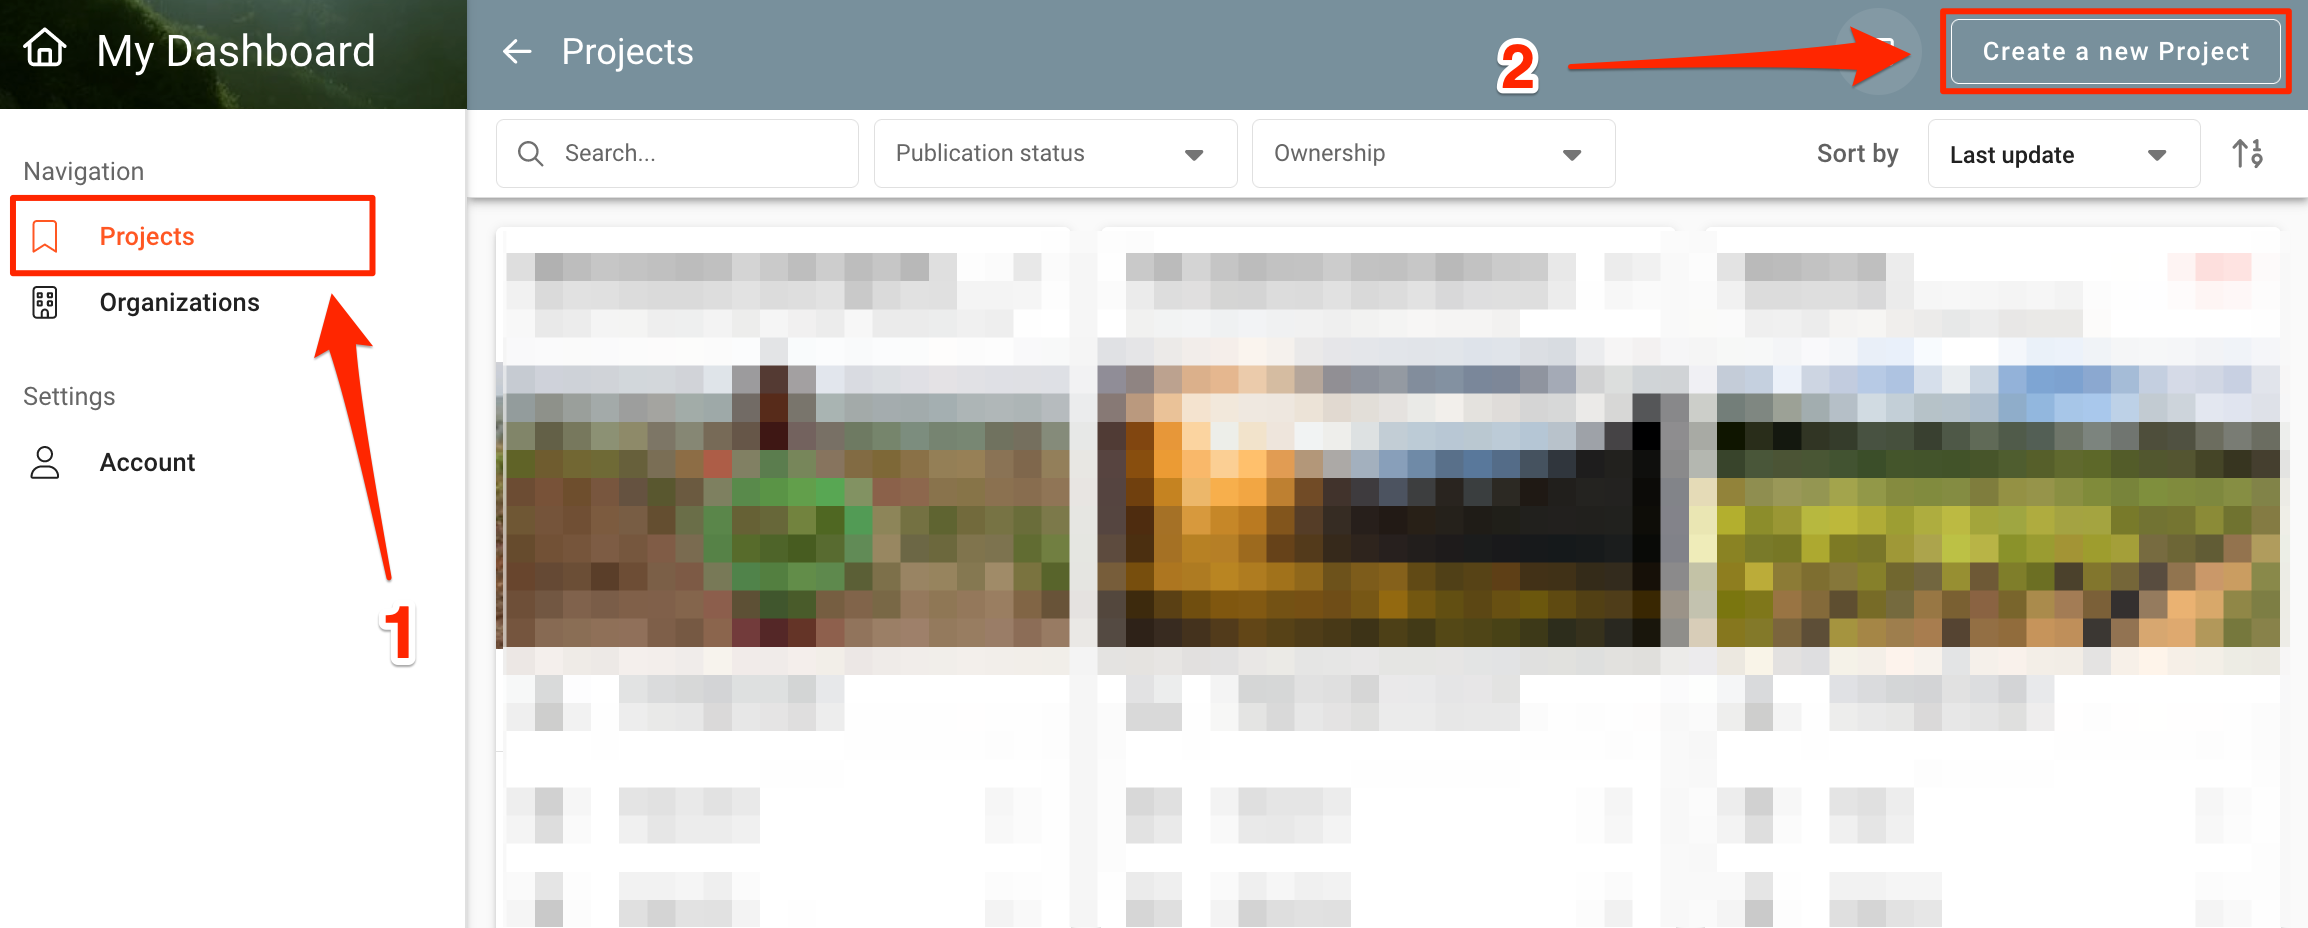
Go to your Projects list page ①. Click on "Create a new Project" on the top right of that page ②.
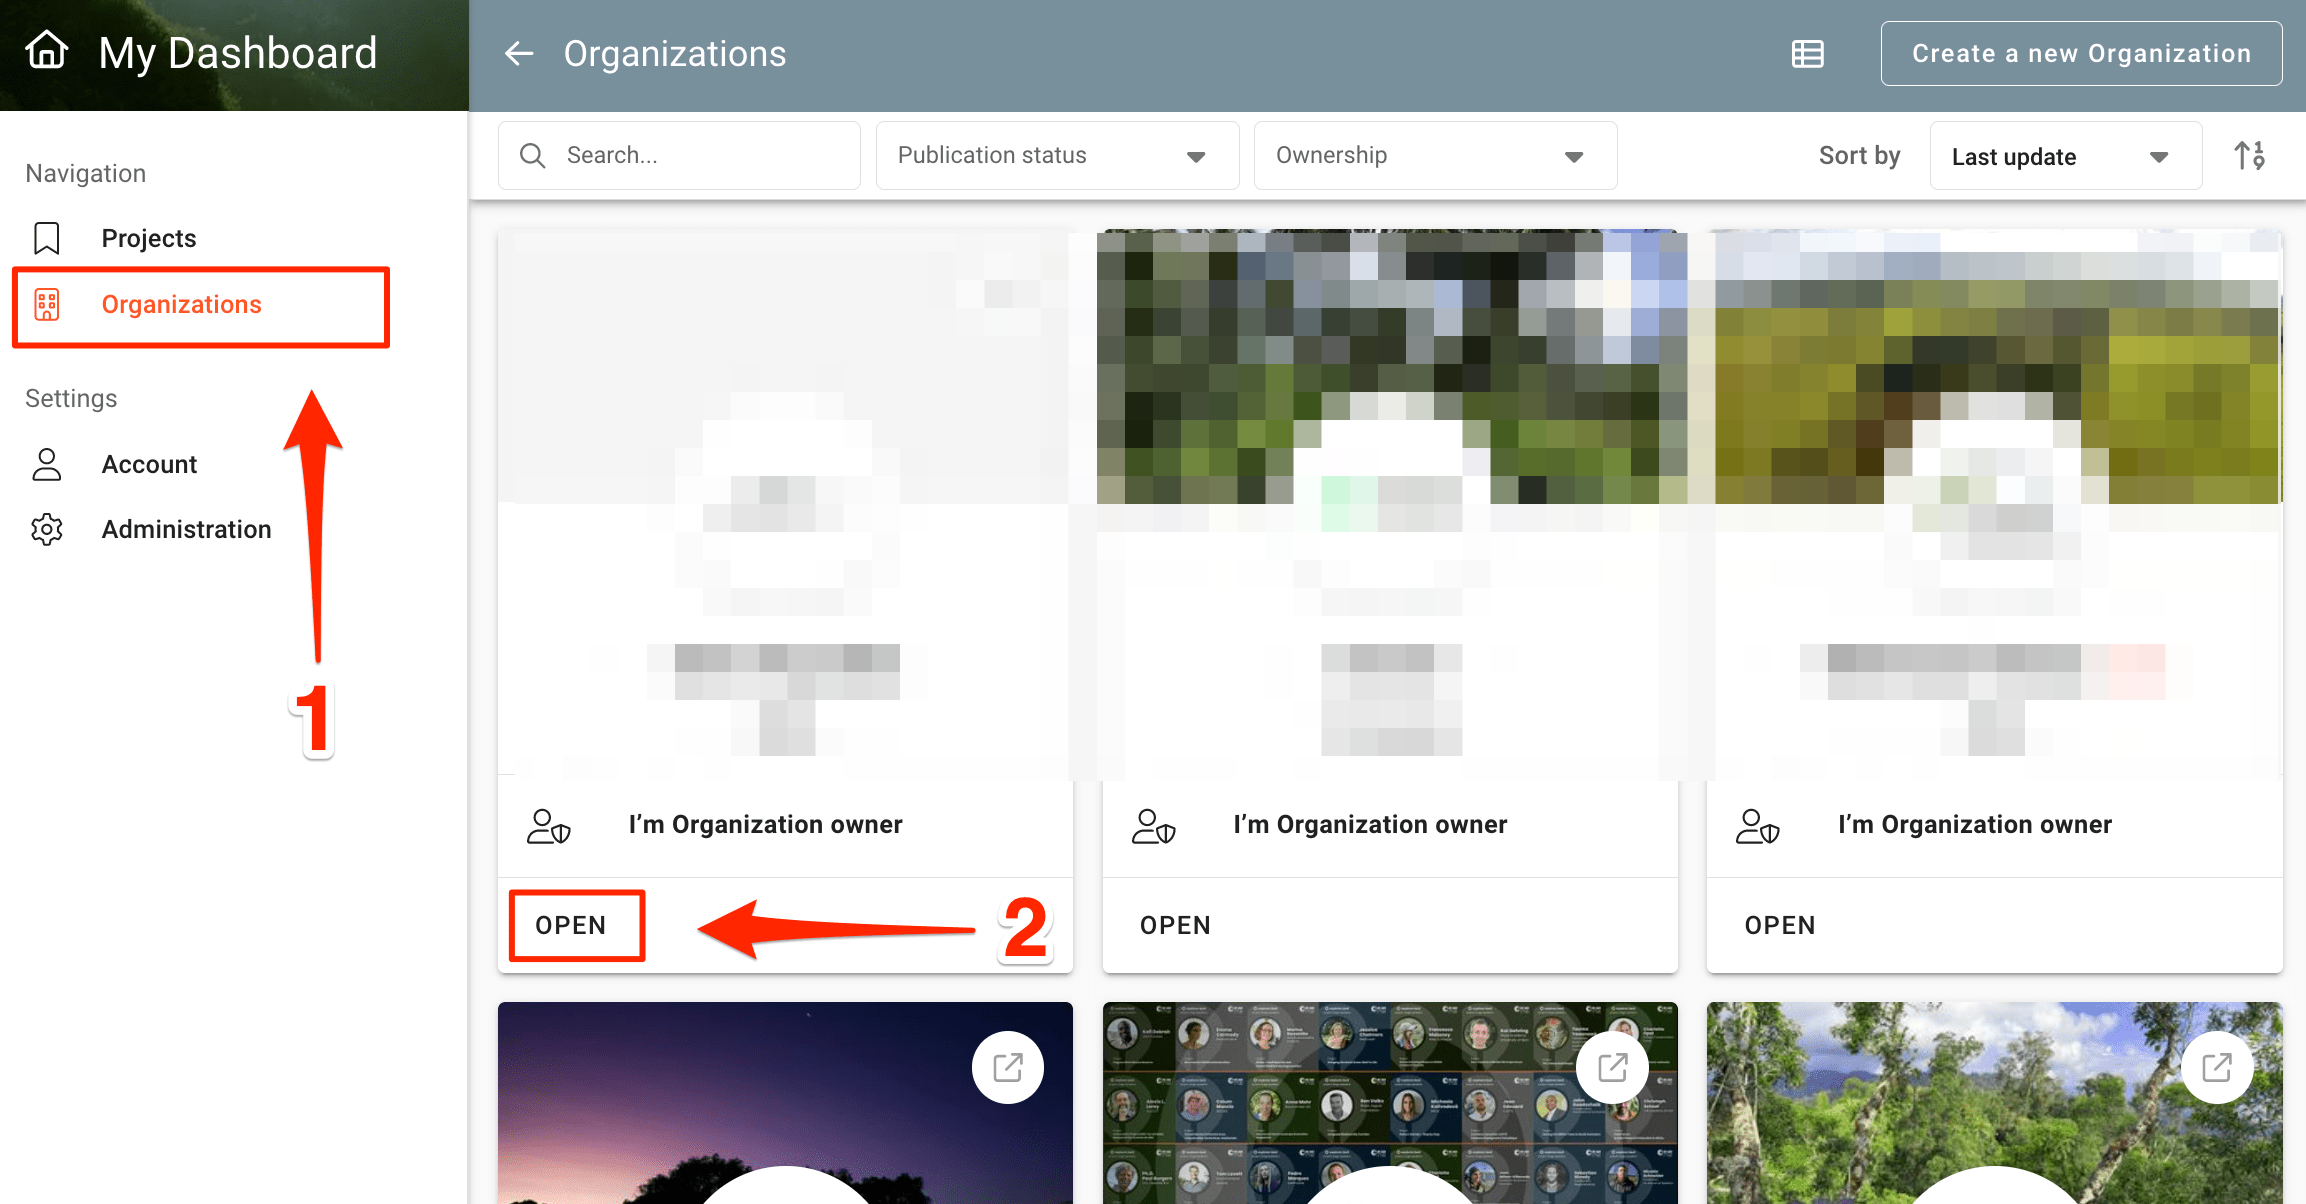
You can also create a project from within your organization’s backend. Open the Organization's overview page to which you want to link your new Project. (You have to have created an organization already to use this option. See how to create an organization here.)
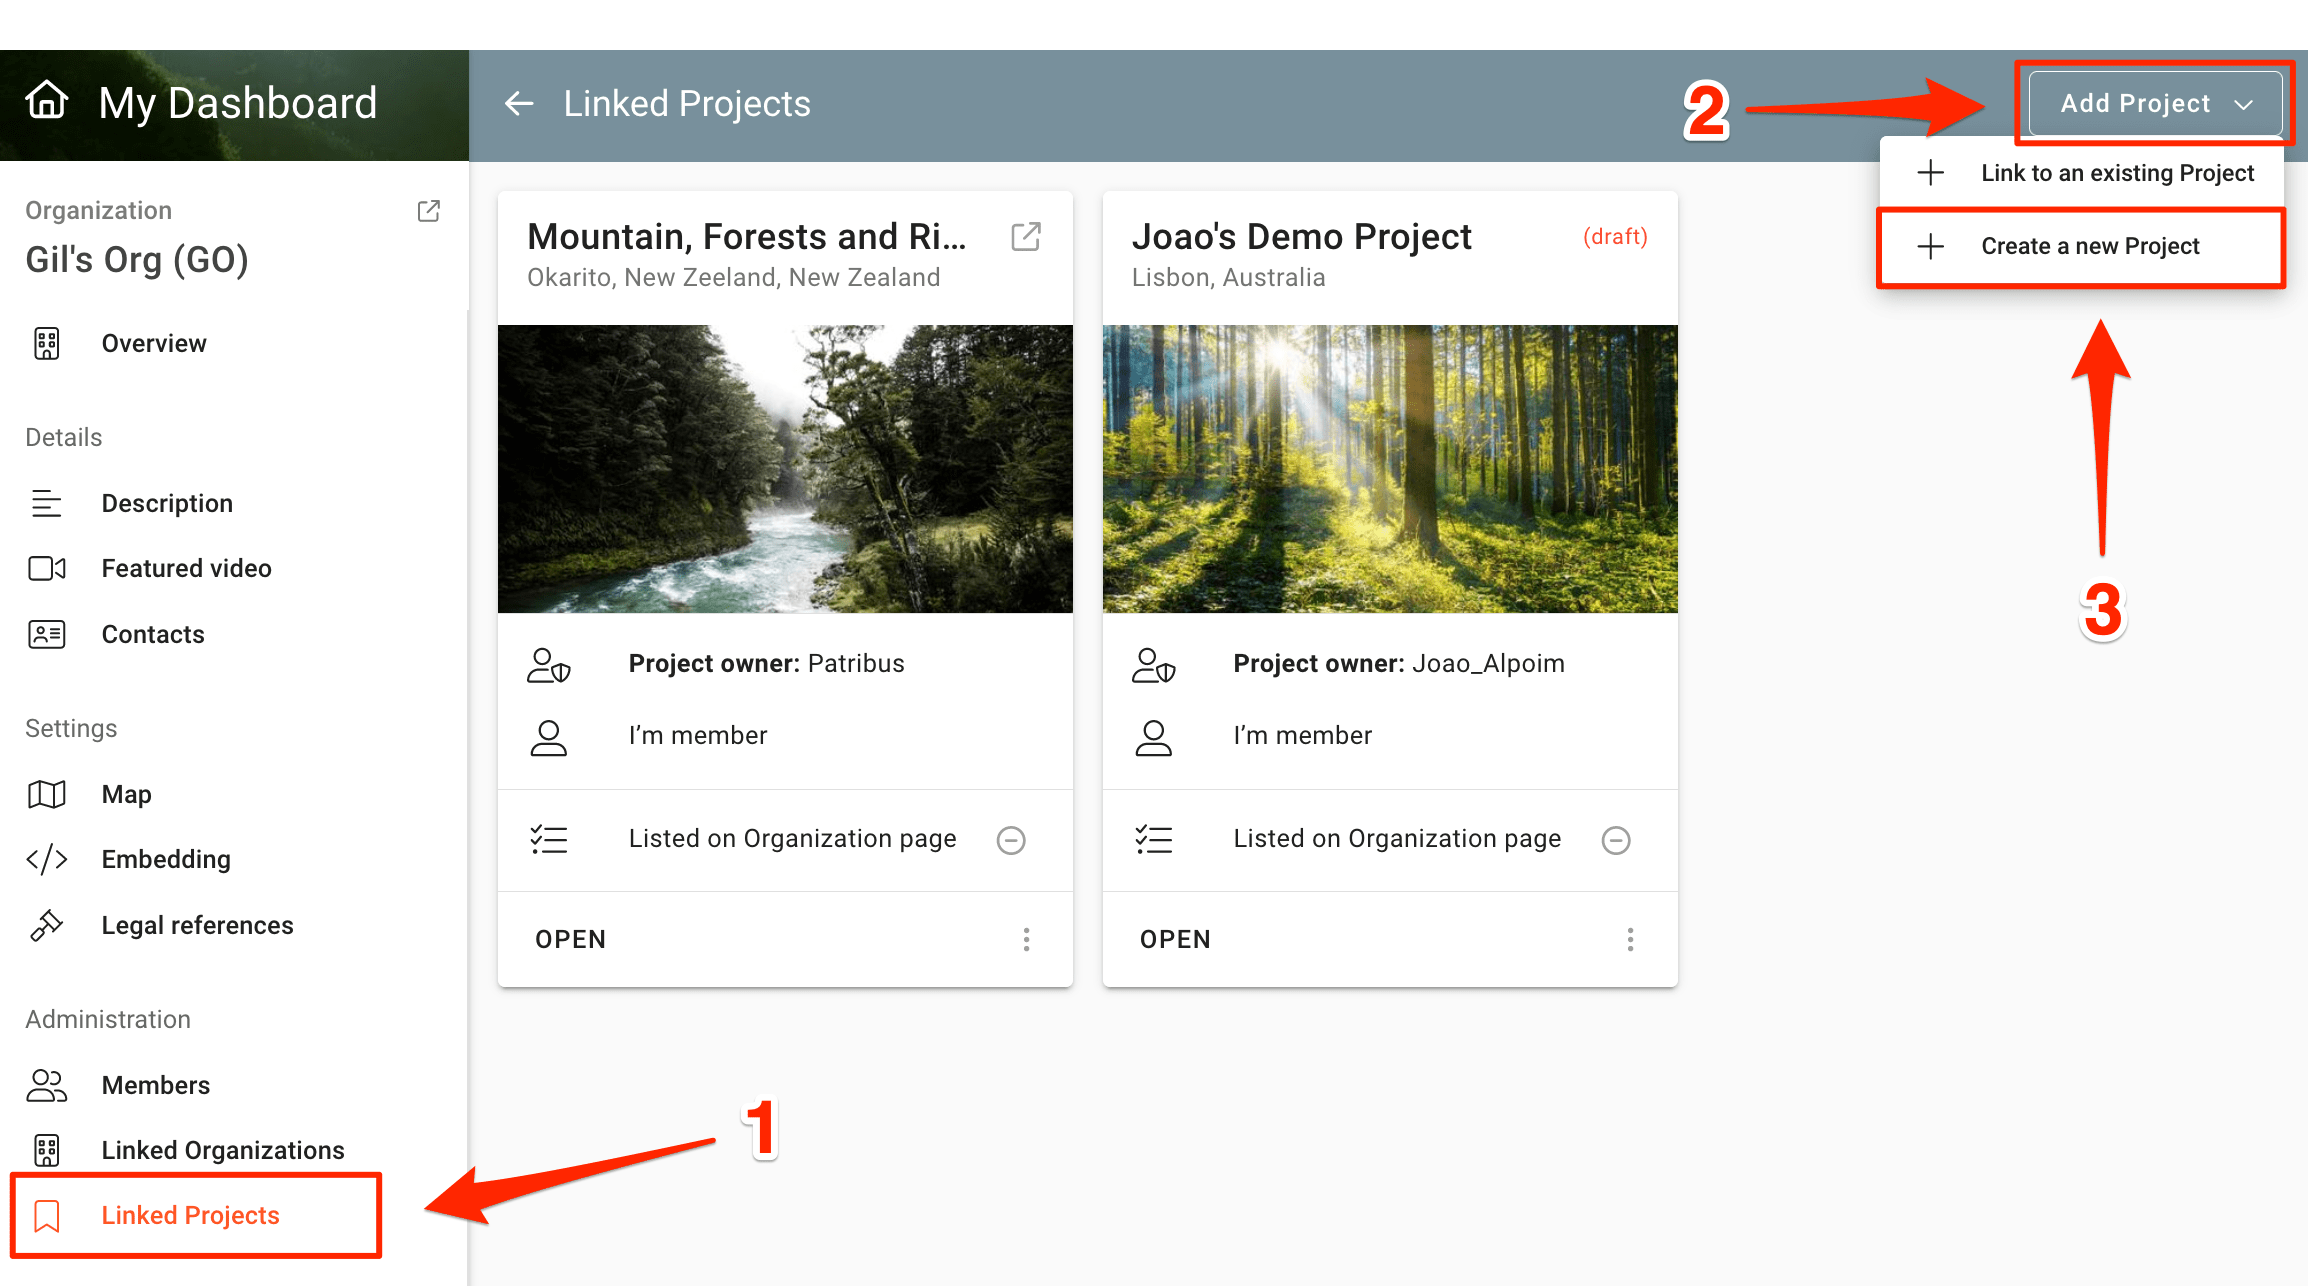
On the bottom of the left menu section click on "Linked Projects" ①. Then click on "Add Project" on the top right corner ②. Finally click on "Create new Project" ③. Once you created the project, it will automatically be linked to your organization.
After any of these steps, the Create a new Project form will open.
The 'Create a new Project' form
In order to have a complete project presentation, you would need to fill out the whole form, but for a quick start, you might only want to fill out the mandatory fields, which are:
The project name

The slug for the project URL
The slug is the end part of the URL (read more at Wikipedia). It should be an easy to read and remember set of characters, normally the short version of the Project's name. E.g., for a Project with the name "Reforestation Initiative of the State of Pernambuco" you may want to choose a slug like "reforestation_pernambuco". You are free to type in whatever you want. Spaces are not allowed.

NOTE: The slug can not be changed afterwords, so choose it carefully!
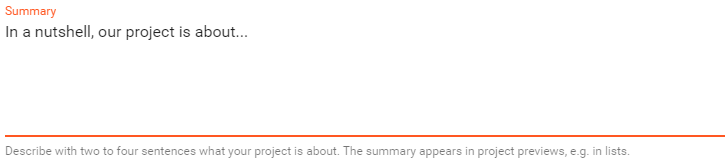
Summary
The summary should not be longer than about three sentences, but deliver the essential information about your Project. Formulate the summary in such a way, that visitors of your Project presentation are able to understand what your Project is about. The summary text will also appear as a preview when sharing in social media.
Start year
Indicate the year your Project formally started or is going to start.

Contact details
Indicate the name and respective email of the responsible person for the Project.

Geography
Select the country (or multiple countries) and the region your Project is located in. Consider that the region might be an administrative region (e.g. a district) or designated by its cultural or environmental context (e.g. 'Western Amazon').

Saving the project
After filling out these mandatory fields, you are ready to save it:
SAVE AS DRAFT will create the Project, but it will still not be online. This option is meant to allow to finalize the Project presentation first.
