Aerial Imagery
Last updated 4 months ago
What is the Aerial Imagery feature?
The Aerial Imagery feature allows you to show custom, high-resolution aerial maps (orthomosaics) directly on your explorer.land project profile. Instead of relying solely on the default satellite base map and satellite timeline, you can layer your own drone or purchased satellite data over your project area.
While satellite maps are great for showing the general location and scale of your project, they have limitations regarding clarity and how often they are updated. Importing your own drone imagery gives you total control over how your project is visually represented.
The Aerial Imagery panel
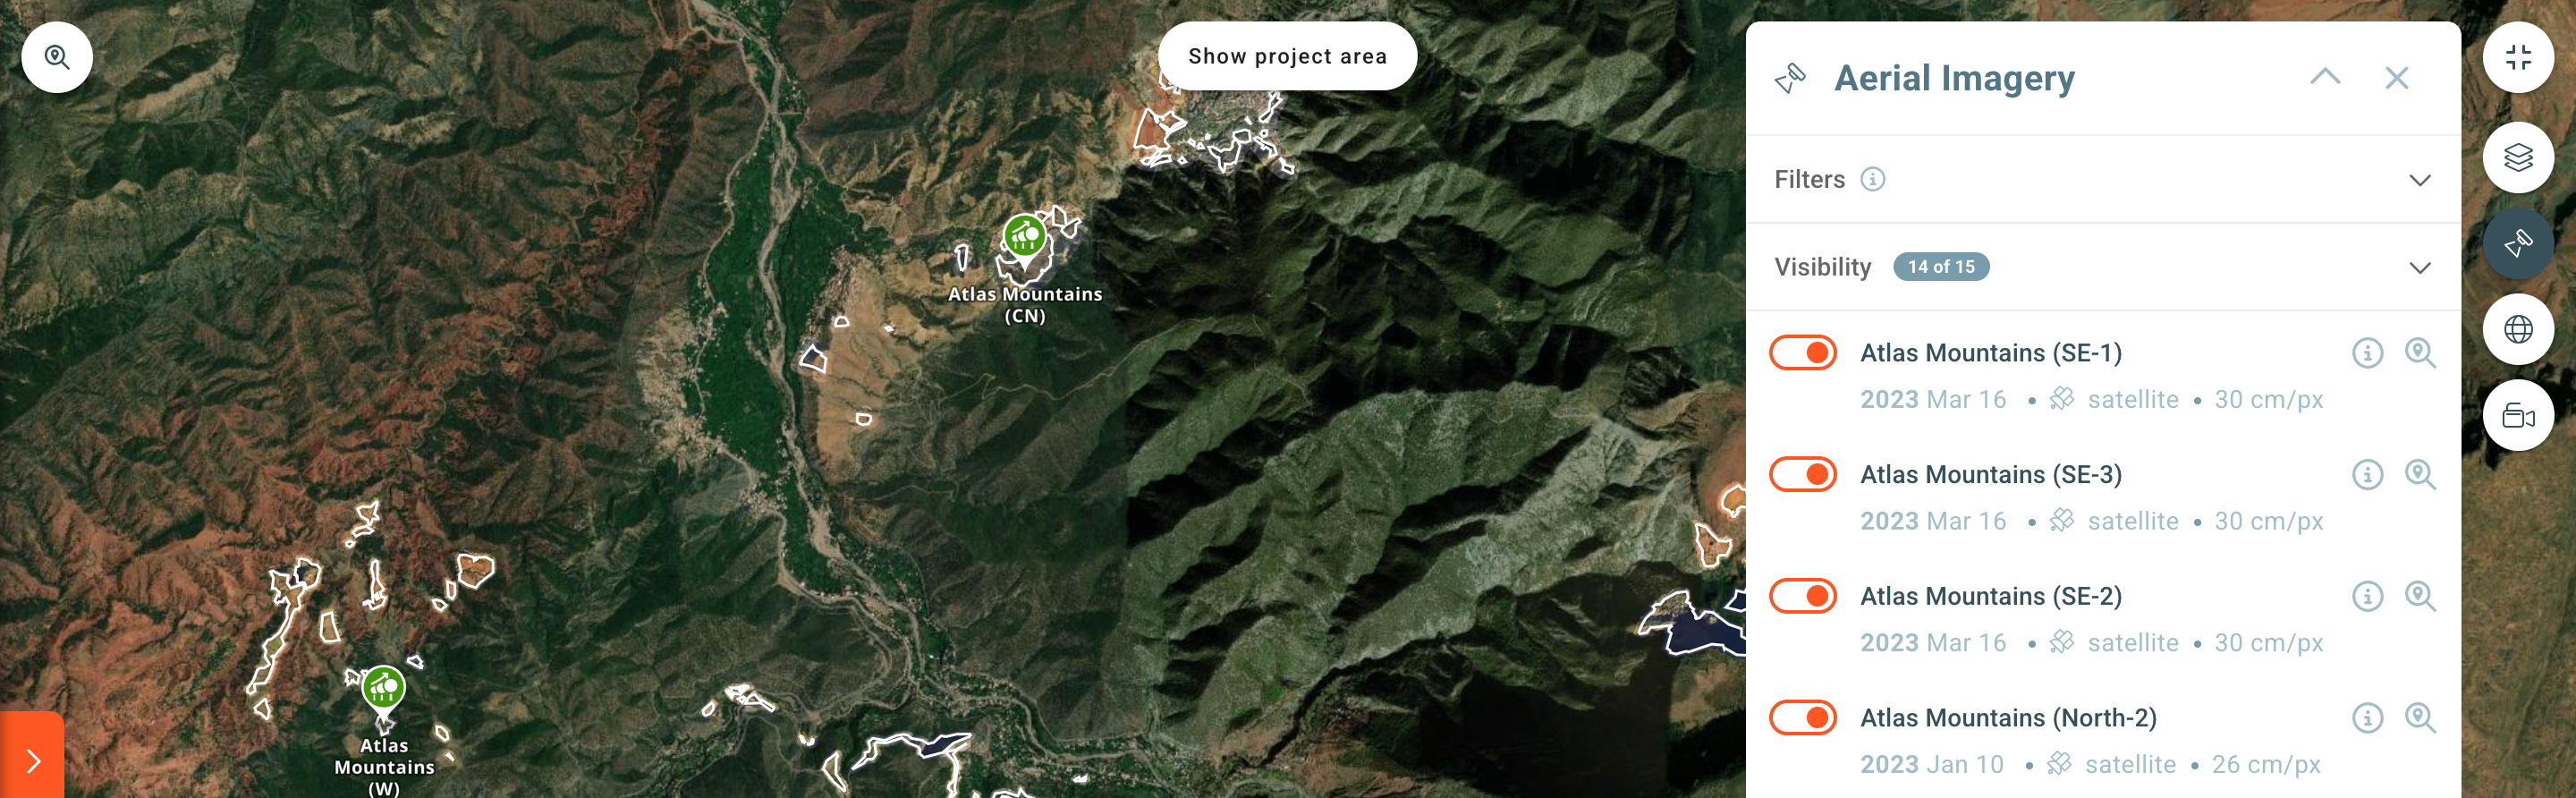
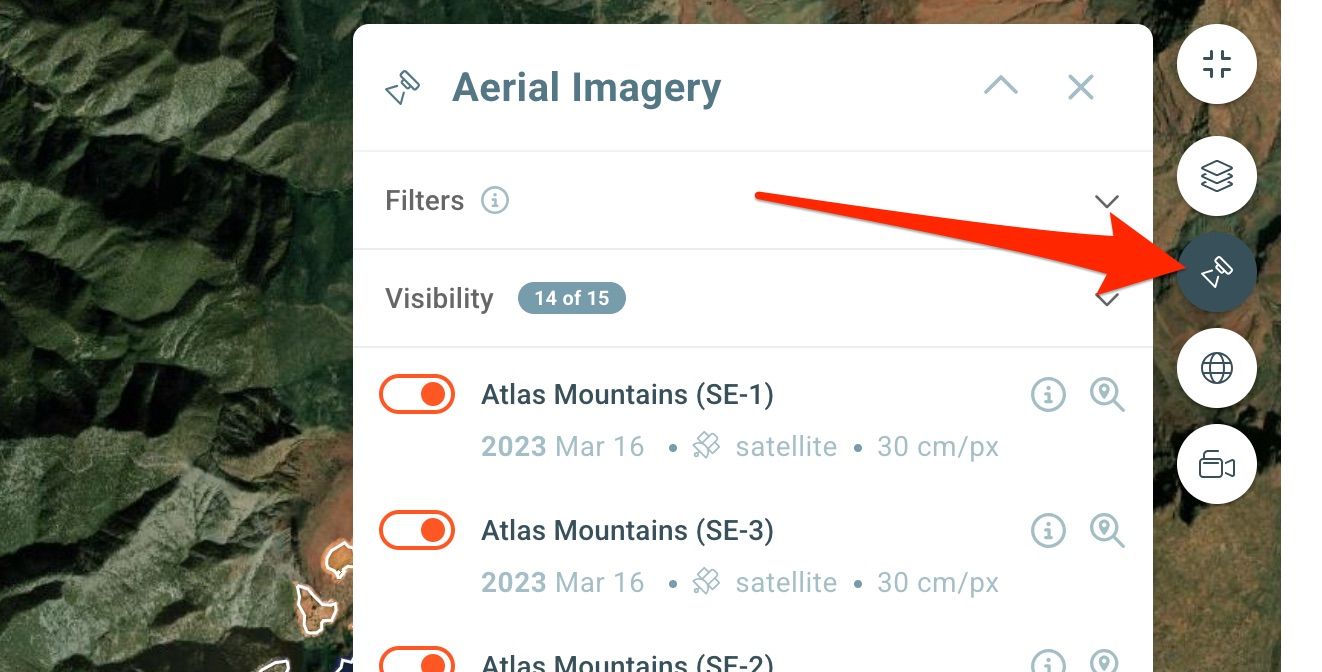
To open the Aerial Imagery panel click the “Drone” icon on the top right of the map. The panel includes all the published layers and related information, filters and visibility switches.
The Layers
On the Aerial Imagery panel you will find all the active layers. These may include the following information:
Description
Credits
Source
Resolution
Acquisition Date
By clicking on the slider button you can toggle the layer on and off. The (i) icon shows more information like the description and the credits. By clicking on the magnifying glass the map will zoom into the layer location.

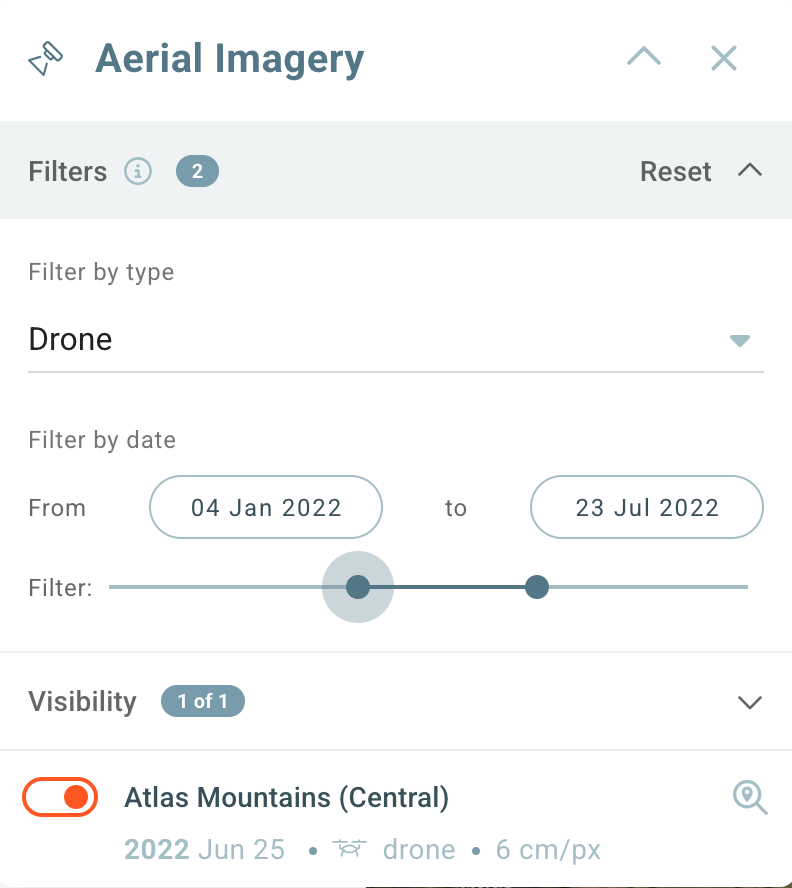
Filters
Click on the Filters dropdown on the top of the panel to open the filters section. Here you can filter the layers by type (drone, satellite or airborne) and by acquisition date.
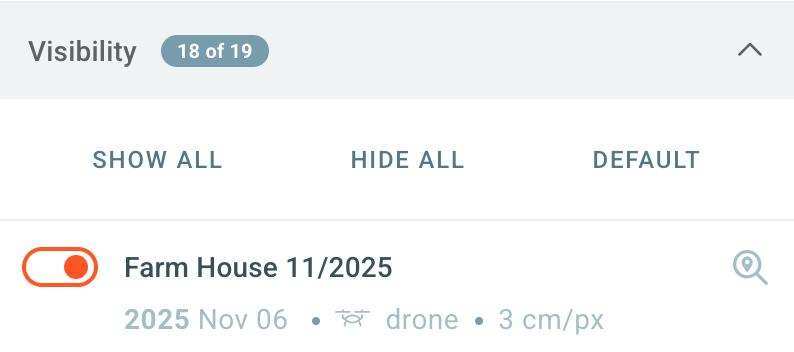
Visibility
Even after filtering the layers, they all stay visible on the map. To show/hide all the layers on the map open the Visibility dropdown and use the SHOW ALL, HIDE ALL and DEFAULT switches.
To import your drone or satelllite imagery, please contact support@openforests.com