The Project map is composed by Sites.
In this section you will learn the quickest way of creating and adding Sites to your map.
Setting the approximate center of the Project
Note: Setting the center of the Project is not mandatory, but it will help you to quicker locate the Project area in the next steps.
In order to start creating the first Sites, you might want to indicate where the Project area is approximately located. For that select Map in your Project menu to open the respective map settings page.

In the map setting page, zoom out & in and move the map until you locate the Project area. Once you have set the marker in the center of the Project area, click on the APPLY PROJECT CENTER button to read the coordinates. Save them by clicking on the SAVE SETTINGS button.

Creating the first Site
Go to the Sites list by clicking on the respective menu item in the Project menu.

As you have not created any site yet, your Sites list will be empty. Should you have set the center of the Project area (refer to previous paragraph), then you will see the Project area on the map.

To create your first Site, click on the plus icon on the top right of the Sites list.

This will open the "Create Site" form.
Name & Description
Start by giving the Site a name. Add a description which allows the visitors of your Project presentation understand what the role of that Site is within the Project.
Type
In order to define the type of Site you can tag it by choosing one or more categories from a predefined list. For that, click on the ADD CATEGORY button and select the category which best describes your Site type.
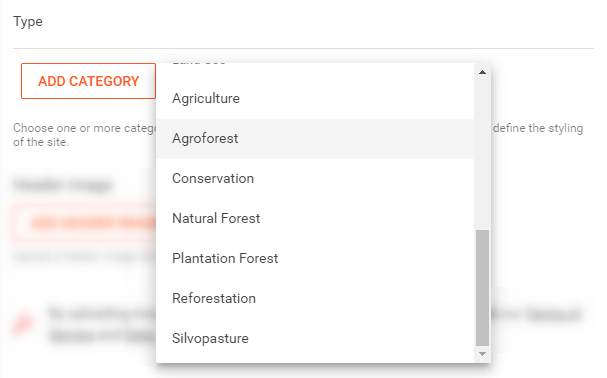
The category will define the styling of the Site (i.e. of the marker and polygons) when viewed on the final Project map.
Header image
Add a header image, ideally showing your Site.

Make sure you choose an image with a 'landscape' orientation.
The following image gives a preview of how the header image will appear on the Site's page.

Site location
There are several ways of defining the location (i.e. coordinates) of a Site. To start with, we will choose the simplest variant of them all: Defining the location of a Site by pinning a point on the map. For that, make sure you that are in the "Map - Set location" tab and click on the plus icon in the 'Point'-row.

Now, you are in the edit mode. On the map, zoom to the location where you want to set the new Site and click on it. By doing so, you will set the location for the Site and leave the edit mode.
Saving the Site & Getting back the Sites list
Once you are done, you can save the Site. For that, choose SAVE AS DRAFT if you still want to edit the Site later on, or choose PUBLISH SITE if you want the Site to become immediately visible on your public Project map.
After saving, you will be brought back to the Sites list, where your new Site will be listed.
