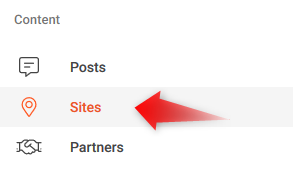
Select Sites from the content menu on the left of your project overview.
On the top right of the Site list, click on the plus icon.
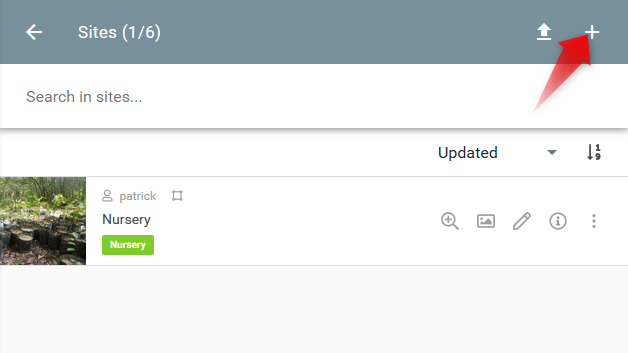
The Site creation form will open.
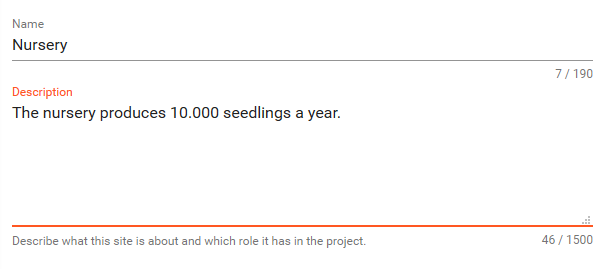
Title and description
Start by naming the new Site and describing it, including its role for the project.
Category
Define the Site type by selecting one or more categories.
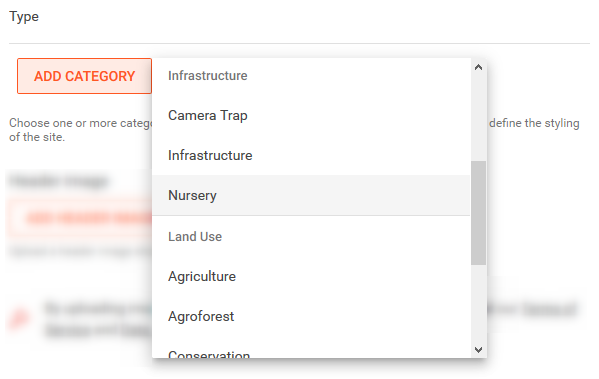
You can add more than one category to your Site type. E.g., if your Site is a conservation area which includes smaller reforestation patches, then you would select the categories "conservation" and "reforestation". Note that the category on the top will define its styling on the map (icon and color). You may change the order of the selected categories at any time, or delete them using the trash icon.
Upload a header image
The image should be a photograph representative of the location of the site and should be in landscape orientation (horizontal).

Create a point or polygone on the map
Here you have 3 options:
-
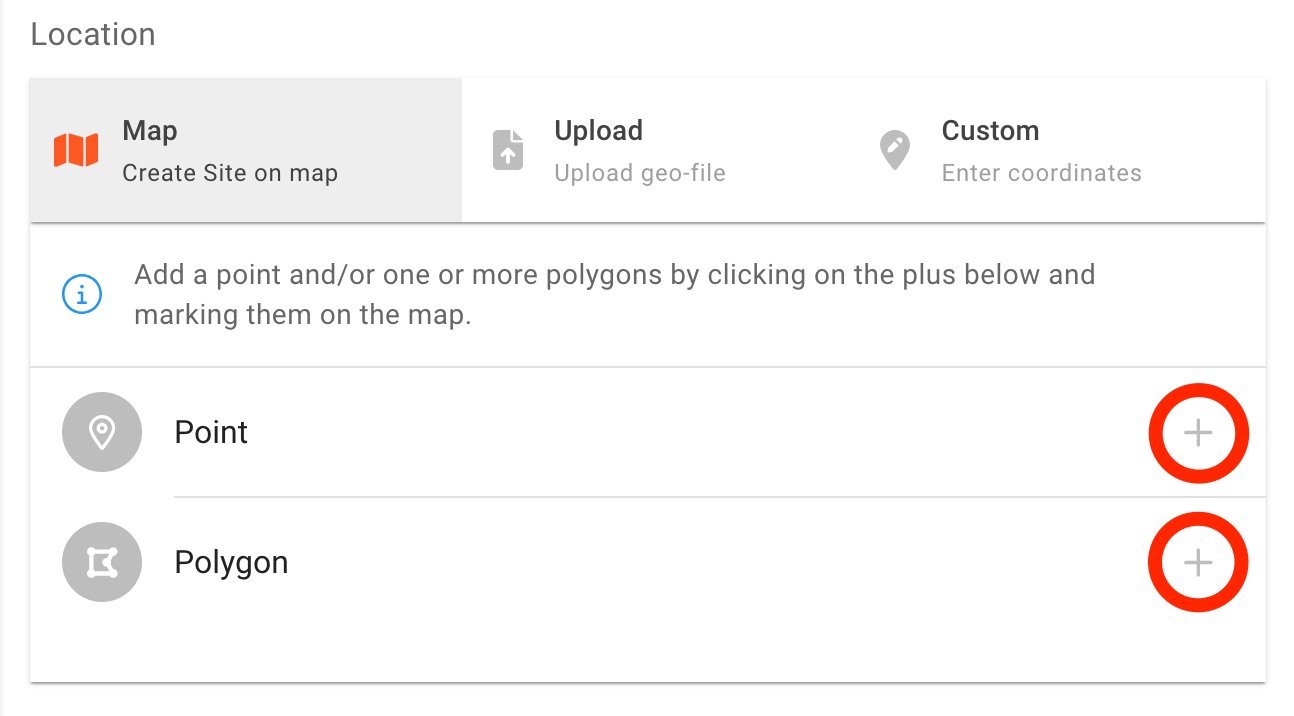
Map - Add a point and/or one or more polygons by clicking on the plus icons and marking them on the map.
-
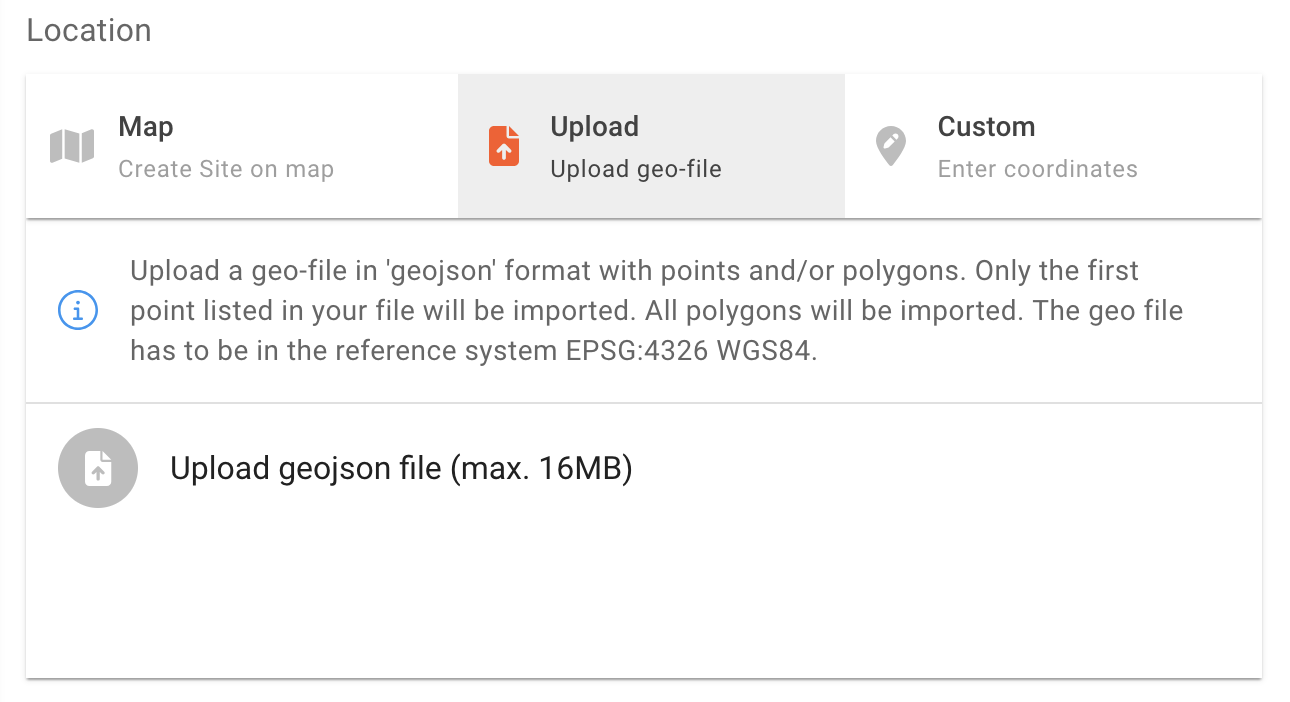
Upload - Upload a geo-file in 'geojson' format with points and/or polygons. Only the first point listed in your file will be imported. All polygons will be imported. The geo file has to be in the reference system EPSG:4326 WGS84.
-
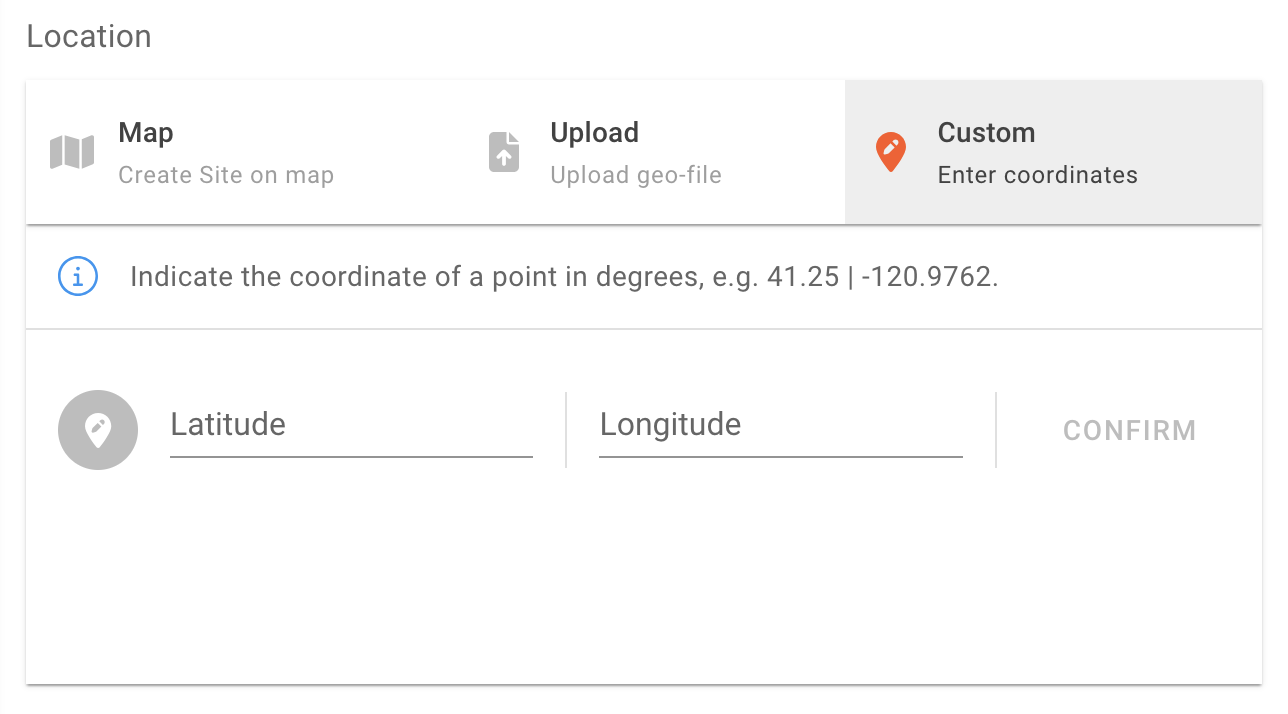
Custom - Manually input the coordinates of a point in degrees. Click confirm after imputing coordinates, the map will zoom in to the location.
Save or publish site before leaving.
Advanced Settings
-
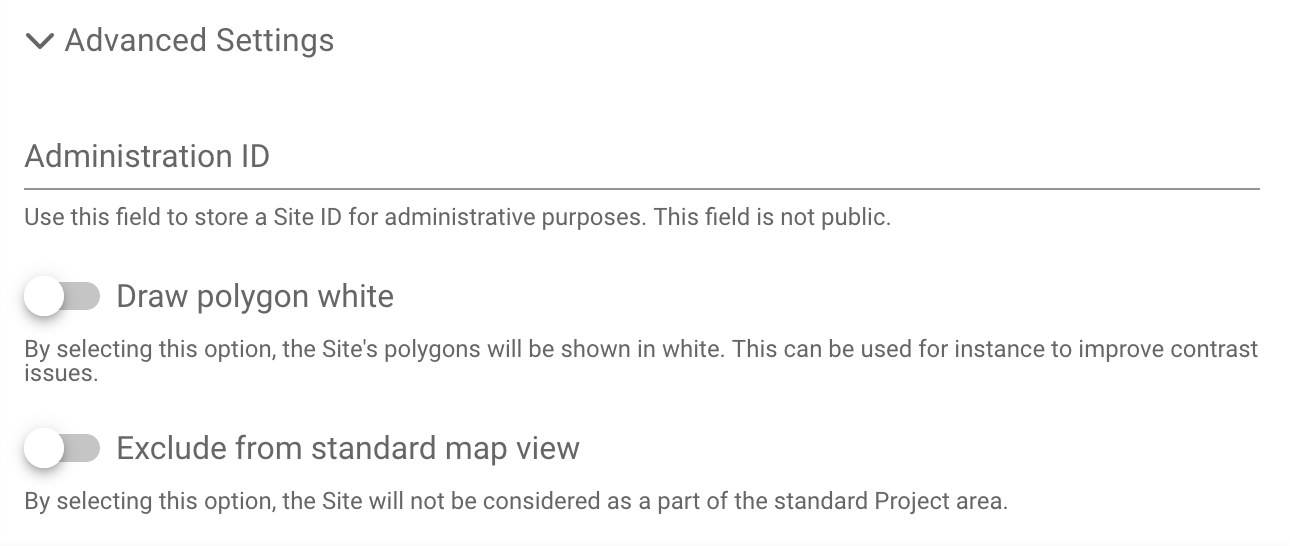
Administration ID: Use this field to store a Site ID for administrative purposes. This field is not public.
-
Draw polygon white: By selecting this option, the Site's polygons will be shown in white. This can be used for instance to improve contrast issues (i.e. green on green).
-
Exclude from standard map view: By selecting this option, the Site will not be considered as a part of the standard Project area. This is relevant when zooming into the project area of the project. The site will still be visible on the map and under the sites tab.