When uploading images to the explorer.land platform, the copyright licenses remain on the author's or holder's side.
In order to show under which license images are used on explorer.land, the platform allows adding image credits. The functionality makes it possible to add credits to a single image or to a group of images with one single click. It is optimized to set credits with a minimal effort and in a very flexible way.
Setting credits for individual images
Each time an image is uploaded, the user has the possibility to set the credits. This is true for header images (Organizations, Projects and Sites) as well for gallery images of Posts, although the interface is slightly different.
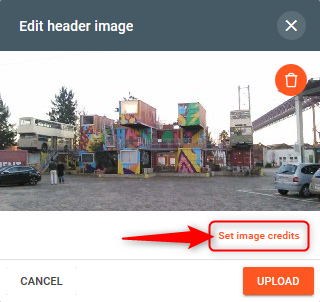
As soon as you upload an image, you will see a Set image credits option.
The following steps show the case of header images.
Clicking on Set image credits extends the popup window with a form.
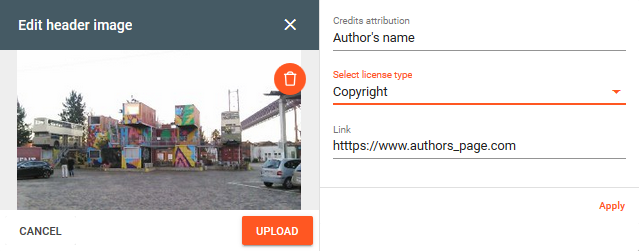
Three fields are available:
-
Credit attribution
Use this field to add the name of the author or organization holding the rights over the image. You are free to type in whatever text you consider suitable. -
License type
Indicate under which license the image is being shared. Choose one license of the proposed licenses in the dropdown list or type in any other license.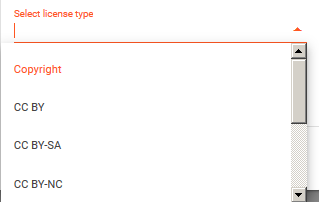
The dropdown list suggest some standard licenses, like copyright or creative commons. -
Link
If needed, enter any link related to the license, e.g. the page of the author or the original URL of the image.
Conclude the edition with Apply
The credits appear underneath the image. You still can Change or Remove them. To finalize the procedure, click on UPLOAD.
Setting credits for a group of images
When uploading several images into a Post gallery (check What are Posts to learn more), it is possible to set the image credits for each individual image by clicking on the Set image credits option.
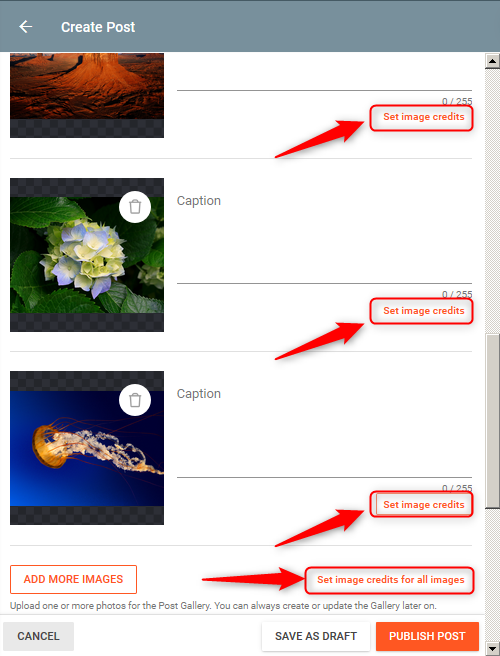
In the popup window, select the ADD NEW tab and fill out the form as explained previously. Conclude by clicking on APPLY.
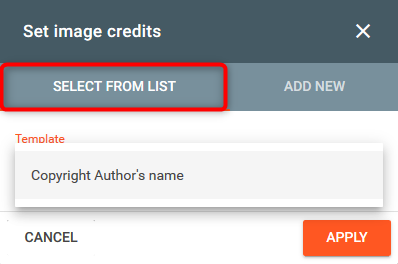
Note: It is also possible to load credits from a predefined template. This functionality will be addressed in the next paragraph below.
Should you want all images to have the same credits, then it is possible to do so using the Set image credits for all images option on the bottom of the image list. Proceed as explained for individual images.
Defining templates
It is possible to predefine credits templates, which will be available when uploading images. This is practical, when a significant number of uploaded images have the same credits.
To create a new template, in your Project overview page, go to Legal references and select CREATE A NEW TEMPLATE.
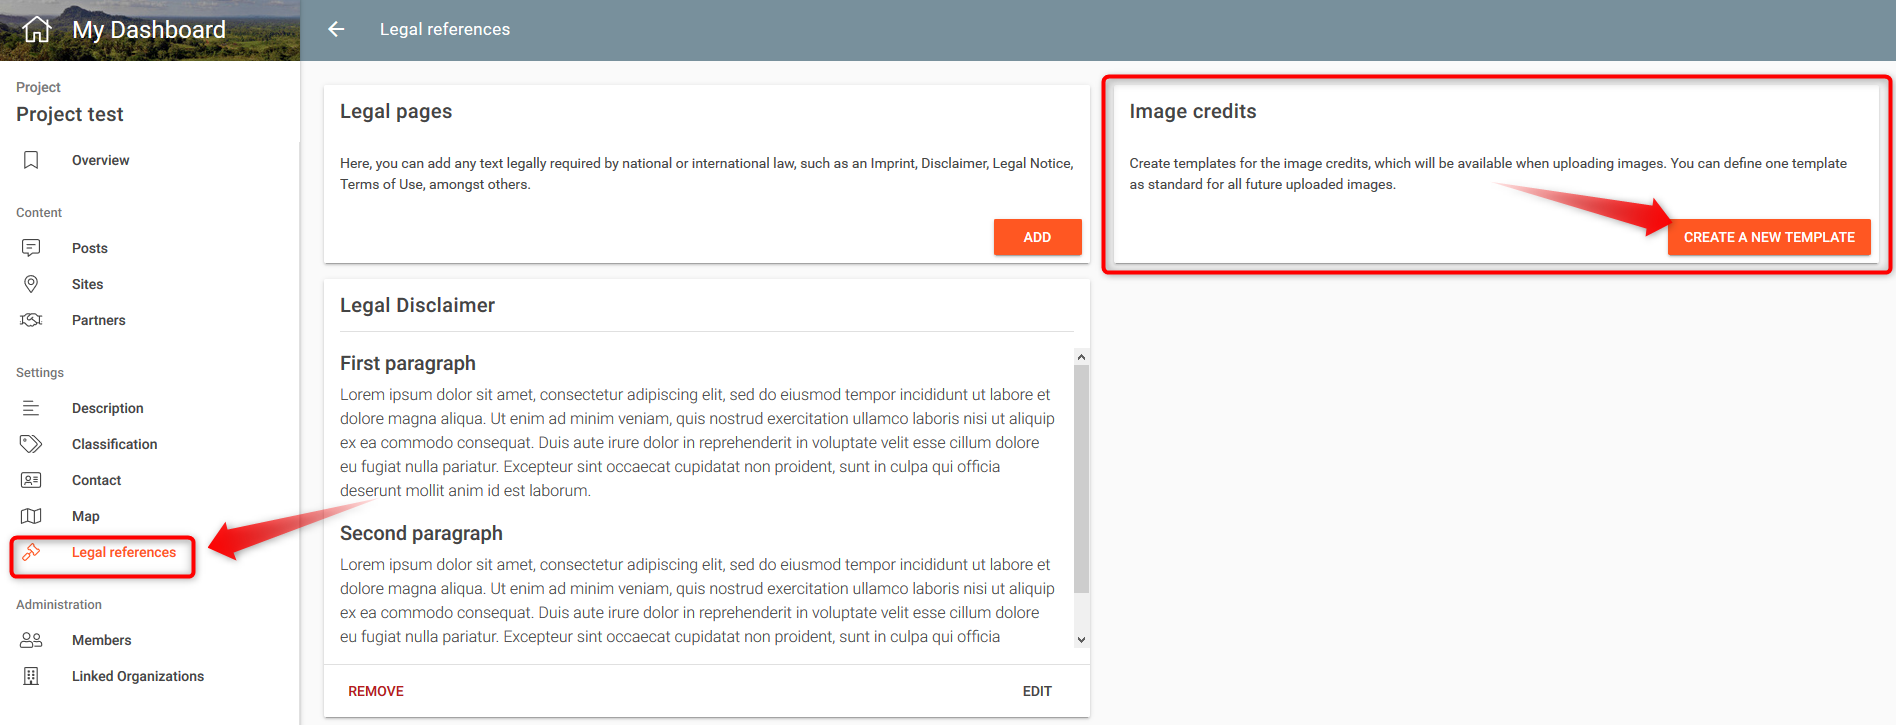
In the popup form, fill out all the fields as explained earlier.
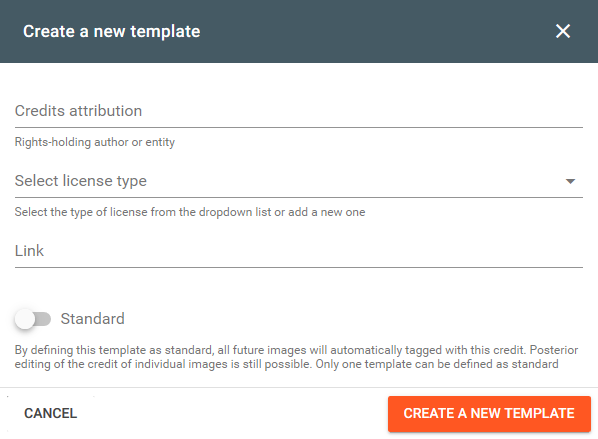
Conclude by clicking on the CREATE button.
Standard template
When defining a template as standard, the respective entries will be automatically loaded each time images are uploaded. This is useful when the majority of the images uploaded to your project have the same credit reference.
When creating or editing a credit template, activate the Standard option.
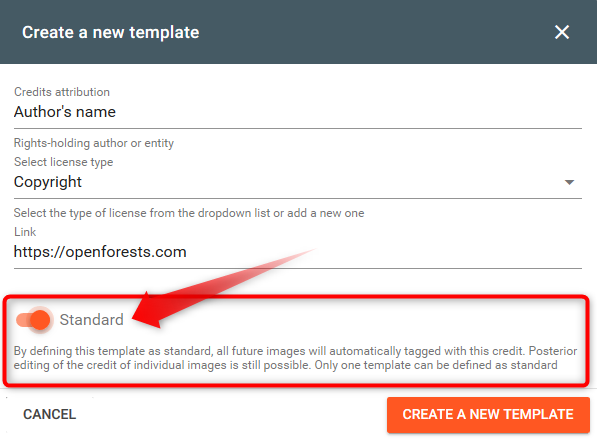
Note: Only one template can be defined as standard.
Selecting templates during image upload
As soon as you have defined one or more templates, they will be available each time you upload or edit an image.
Instead of selecting the ADD NEW option, you can select one of the predefined templates from the dropdown list.
Editing or deleting templates
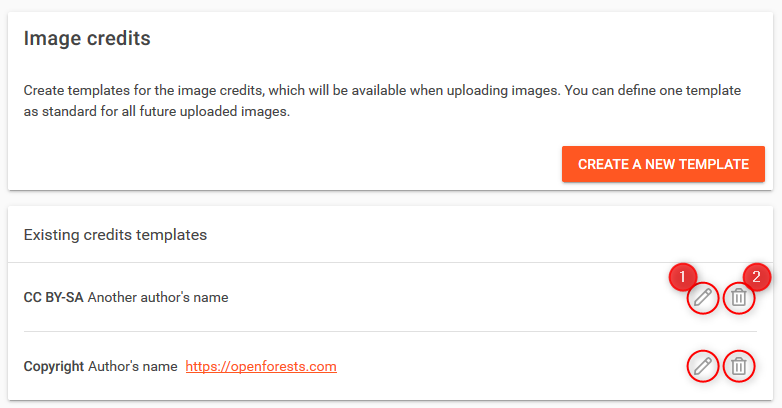
To edit or delete templates, use the respective icons in the template list.
