One important feature of explorer.land is the possibility of geolocating Posts on the map.
There are two methods to define the location of a Post:
- by setting the coordinates, or
- by attaching the Post to an existing Site.
Note: Posts can only be attached to published Sites.
Setting the Post's geolocation can be done during its creation or editing.
Setting the Post's coordinates
In the Post form, when creating or editing it, navigate to the Location section.

There are four ways to set the geolocation of your Post:
- by typing in the coordinates,
- by uploading a geo-file containing the coordinates,
- by setting the coordinates directly in the map,
- by attaching the Post to an existing Site.

With methods 1 to 3, the Post will get its own coordinates. With method 4, the Post will end up attached to a Site.
Next, we will go through these four variants.
1. Setting the coordinates manually
Select the "Custom - Enter location" tab to type in the coordinates of the Post.
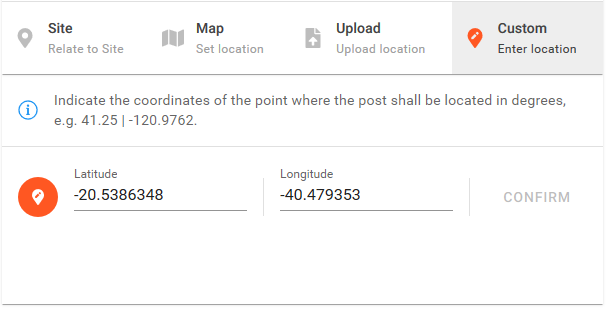
Enter the latitude and longitude values in degrees (corresponding to EPSG:4326 - WGS84). Click on confirm. Your view will switch to the "Map - Set location" tab. Here, you can interactively edit or delete the point (check point 3 below). If the entered values are valid, the map will center on them. You can use it to confirm if the point is in the correct location.
2. Uploading the coordinates
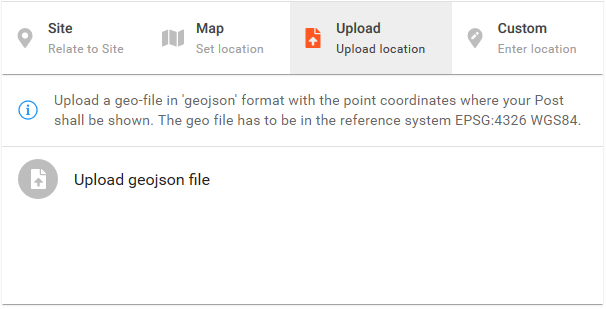
In case you have the post coordinates stored in a geo-file, you can upload it to populate the latitude and longitude values. The geo-file has to be in the geojson format and in EPSG:4326 - WGS84. If not, you have to convert your file to geojson, as we explained previously. Switch to the "Upload" tab and click on the respective upload icon to select and open the geo-file. If the import was successful, you will see the respective point on the map. At the same time, your view will switch to the "Map - Set location" tab. Here, you can interactively edit or delete the point (check point 3 below).
3. Choosing the location interactively on the map
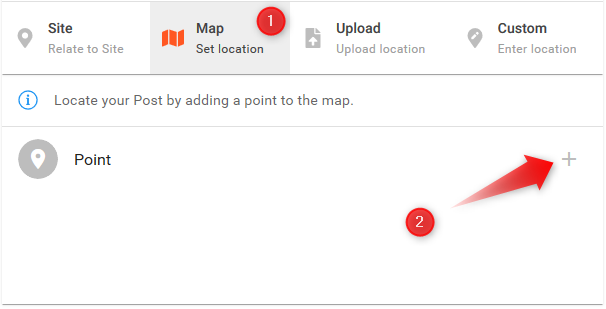
Switch to the "Map - Set location" tab. Click on the plus icon to add a point to the map. On the map, the cursor becomes a cross. Click where you want to locate the Post. A point will appear.
New options become available. You can delete, center on, or zoom to your point using the respective icons.
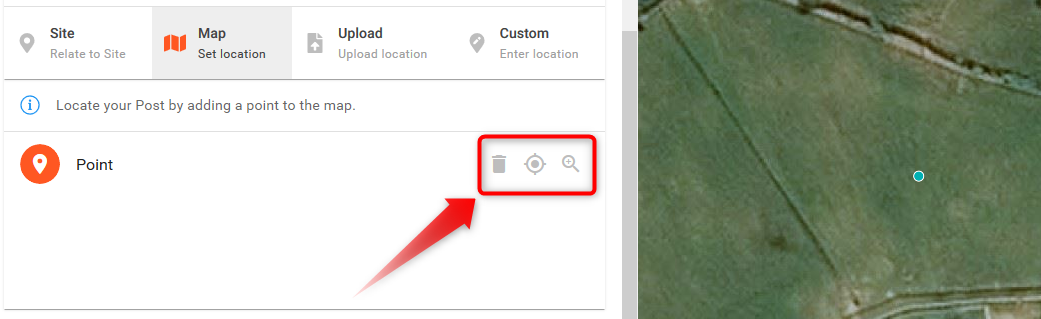
You can also edit the position of the point directly in the map. For that, click on the point to activate it. Its color will go from blue to yellow. Now, move the point to its new location. To deactivate the point, just click anywhere else on the map.
Note: There is a shortcut to add a point on the map at anytime during creation or editing of a Post. In the top-left corner of the map, you will find an "add point" icon.
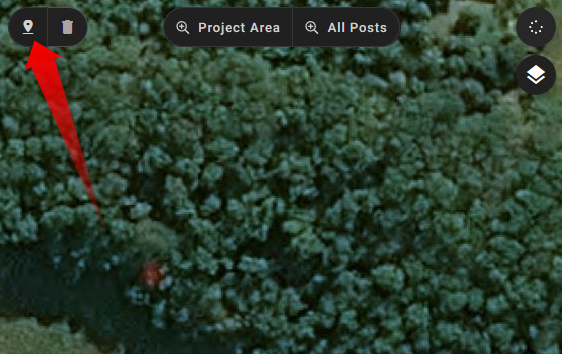
Click on it and you will enter the edit mode. As explained previously, click anywhere on the map to set the Post location.
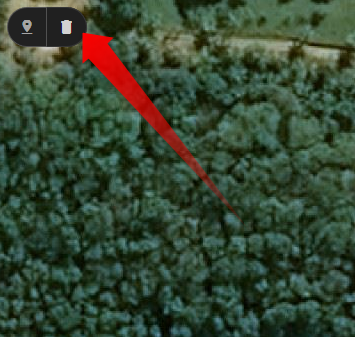
Similarly, while your point is active (yellow color), use the delete button to remove the point from the map (i.e., deleting the coordinates).
4. Attaching the Post to a Site
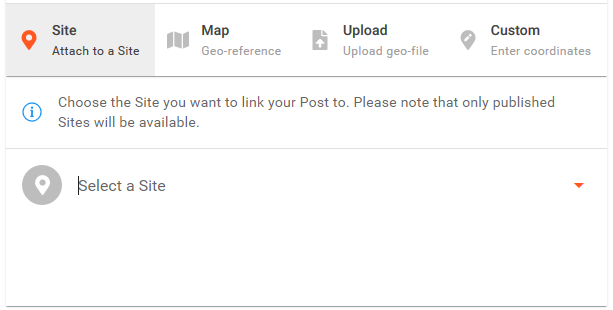
If the Post is related to a Site, it is possible to attach it to that Site. For that, switch to the "Site - Attach to a Site" tab. Select the desired Site from the drop down list.
Note: Only published Sites appear in the list. Draft Sites are not available.